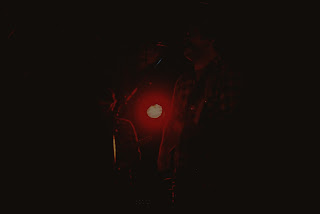
I decided to take some of my older photos, one of which I posted last week and try to revamp them. The camera that I used has a bit of wear and tear, and had been sitting on my brothers’ shelf for a while. I’m not a photographer, nor have I ever pretended to be, so it was very exciting for me to run around Montreal with a camera and try it out. It’s a film camera, which definitely didn’t help with getting clear pictures back when I had them developed.
With that being said this first picture was one I took at a concert I was playing in. I decided to try and use Picasa, which is one of the free editing software’s recommended for this particular photograph. I didn’t want to skew the image by any means, as I believe with the shutter speed I used at the time I had enough going on in the picture already. I really enjoy how you’re able to see the way the bassist was moving (grooving) to the music. So my main goal was just to get rid of as much grain as I could so that the eyes wouldn’t be distracted from the main focus of the photograph. I first used a “Basic Fixes” button which was entitled I Feel Lucky, it’s described as being a “one-click fix for lighting and colour”. But even with that I still found that there was too much grain in the picture. I followed by increasing the Shadow on the tuning tab to roughly fifty percent which darkened the whole picture. I then used the Graduated Tint effect and brought the brightness down, while keeping that vibrant red of the musician. I really enjoy the outcome of this editing as I feel it’s given me a more clear and moody photograph.
If you notice due to the camera’s age and/or film the original pictures tend to have a line cross through them near the top of each photograph. One major goal was for me to eliminate that line without having to take away too much from the overall feel of the picture. I opted to use a different editing program for the second photograph, and ended up using Picnik. This second photograph already had a certain dark tone to it, a very intimate picture I took during the show, so I really wanted to enhance that intimate feeling, by first turning down the exposure. I then increased the contrast slightly to solidify the photo, to relax the aggressive red light that was shining in between the two musicians; I tended to the colours tab and decreased the saturation while increasing the temperature. I also changed the neutral picker colour from gray to the red that was sampled from the light; by doing this when I increased the temperature, the entire hue of the photograph went red, which I think really adds to the picture. I find that the end product is really beautiful, it creates a great intimacy within the picture, by taking away some of the minor details that were originally scattered through the photograph. I feel that we’ve accomplished a beauty that was really lacking before I decided to edit this photo.


No comments:
Post a Comment